Business Challenge
A marketing manager is handling all replies from RMM themselves. They want to delegate replies to specific people in the business, to avoid manually forwarding on replies to the right person.
Solution Approach
In SFMC this can be achieved through a dynamic reply-to email address that is personalised to each email recipient.
When a recipient replies, their reply will bypass the default RMM settings and be sent to a specific individual. Email recipients will not see who their reply is sent to, as SFMC masks the reply-to email address.
Solution
Data Extension
A Data Extension is needed to capture the reply-to address for each email recipient. The reply-to field can be supplied in one of two ways:
Option 1 – Create a new field to store the reply-to email in your Sendable DE

Option 2 – Add the reply-to email address to a JSON data object via API call
{
"definitionKey": "xxxx",
"recipients": [{
"contactKey": "xxxx",
"to": "recipient@domain.com",
"attributes": {
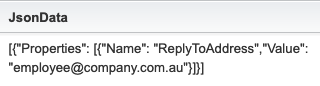
"JsonData": [{
"Properties": [{
"Name": "ReplyToAddress",
"Value": "employee@company.com.au"
}]
}]
}
}]
}AMPscript
An AMPscript code snippet returns the reply-to email address from the DE for use in a new Sender Profile.
Option 1 – Create a new field to store the reply-to email in your Sendable DE
%%=v(@ReplyToAddress)=%%
Option 2 – Add the reply-to email address to a JSON data object via API call
propName is the name of the reply-to property in the JsonData object.
<script runat=server>
  Platform.Load("Core","1");

  // Save JSON object name-value pairs to ampscript vars
  function createAmpscriptVars(obj){
    var prop = obj;
    var propName = obj.Name;
    var propValue = obj.Value;
    var propNameWithoutDots = propName.replace(/\./g,'');

    if (propName == "ReplyToAddress") {
        Variable.SetValue("@"+propNameWithoutDots,propValue);
    }
  }

  try {
    var rawData = Platform.Recipient.GetAttributeValue('JsonData');
    var rawJson = Platform.Function.ParseJSON(rawData);

    for(var x=0; x < rawJson.length; x++){
      if(rawJson[x].Properties.length>0){
         for (var i=0;i < rawJson[x].Properties.length;i++) {
          createAmpscriptVars(rawJson[x].Properties[i]);
        }
      }
    }
  } catch(e){
    Platform.Variable.SetValue('@err', Platform.Function.Stringify(e));
  }
</script>

%%=v(@ReplyToAddress)=%%
Add a readable customer key to the AMPscript snippet for use in a new Sender Profile.

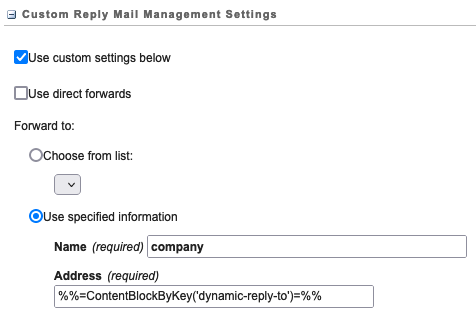
Sender Profile
Create a new Sender Profile to override the default RMM account settings. In the Address field under “Use specified information” add the AMPscript snippet customer key.
Send Classification
Create a new send classification with your dynamic reply-to sender profile selected.
BCC replies to a group email address
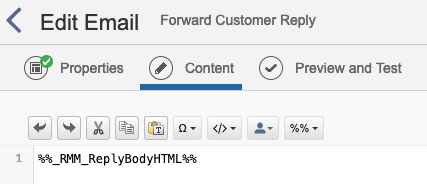
The marketing manager also wants to BCC replies to their support team to ensure that no replies are missed. Enable BCC in Setup > Email Optional Features. To BCC replies to a group email address, create an email to forward in a triggered send definition. By creating an email with the body of the customer’s reply, this allows you to define a BCC recipient.
Email type: HTML
Email content: One line – a system personalisation string: %%_RMM_ReplyBodyHTML%%
Create a Triggered Send under Email Studio > Interactions > Triggered Sends.

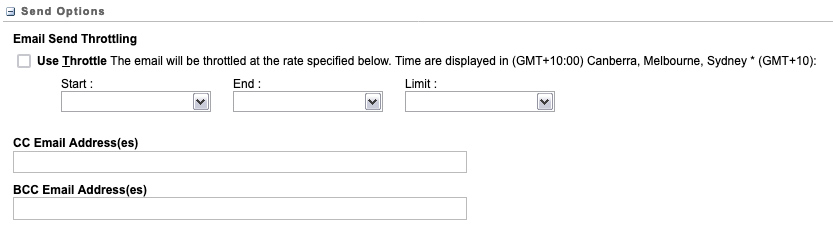
Add the BCC address at the bottom of the triggered send definition.
Pause the interaction to change the triggered send email content.
Publish the interaction to apply your changes.
Start the interaction (do not be alarmed by the message that appears – the triggered email will not be sent).
Tick the “forward using triggered send” checkbox in the new Sender Profile you created and select the triggered send. Replies will be sent to the dynamic email address, and the BCC email address configured in the triggered send.